Shopbot is type of CNC machines which is used to cut wood and produce furniture. The working principle is simple, VCarve software is used to import the 2D drawing of the design and set up the proper settings for cutting like the wood thickness, dimensions and the required operations. Shopbot software is then used to start the operations.
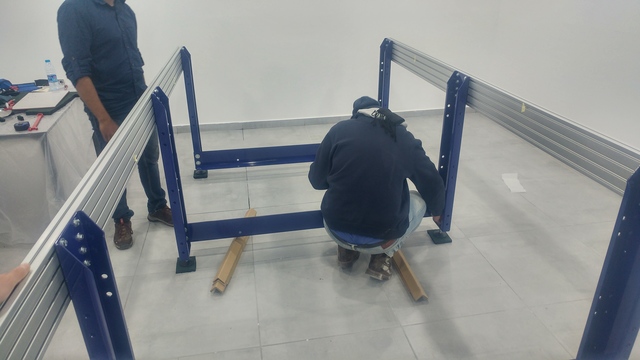
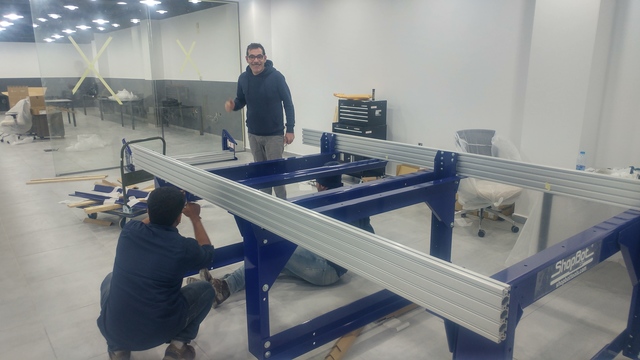
Shopbot is a very big machine, it comes unassembled and it takes a lot of time to be assembled, actually we have stayed 3 days assembling it.
Each screw, bolt, washer, nut, linking bar and other stuff needs to be installed properly with the correct dimensions in a flat surface. If any dimension went 1mm wrong, the Shopbot will fail to cut a product with the required dimensions.
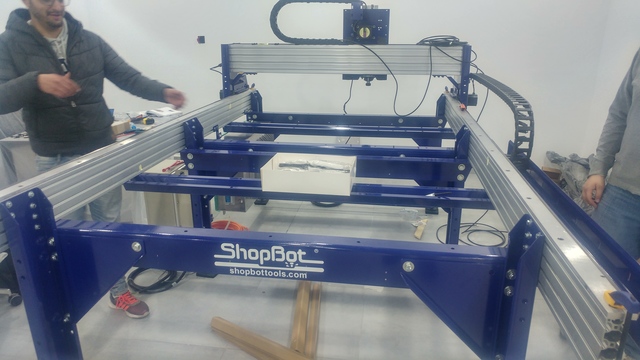
We did not get the correct dimensions from the first time. We had problems with the placing locking sensor in its right position and the right side of the machine was about 1mm shifted and not aligned with the other side of the machine.
The first to do is to set up the origin. X and Y are easy to set up, but the Z axis needs some work and attention. There is a plate that helps zeroing the z axis, the shopbot detects the plate and automatically subtract the plate thickness.
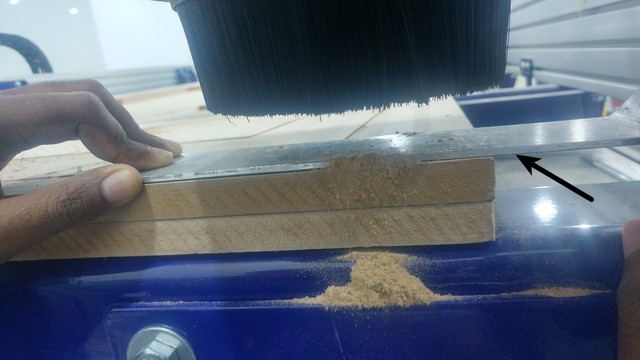
I looked for a design in opendesk and chose to make the beside table. Using the VCarve software, I have scaled down the design from 18mm thickness to 17mm to match the wood thickness, I have also defined the required operations, drilling the holes and cutting the parts. Holes depth is less than the wood thickness, I have drilled the holes for a depth of 4mm and drilled through manually after finish cutting the parts. The wood needs to be fixed so the first operation was to make holes around the parts and install screws.
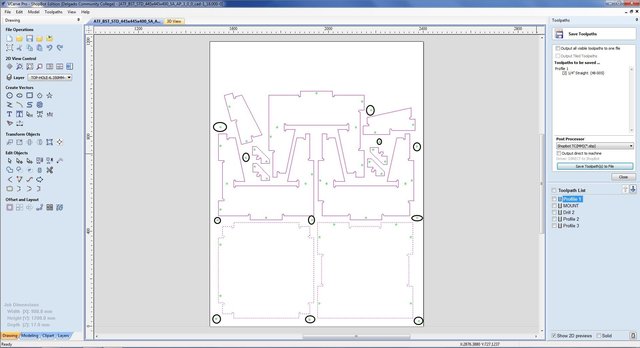
The following picture shows the toolpath operations I used.
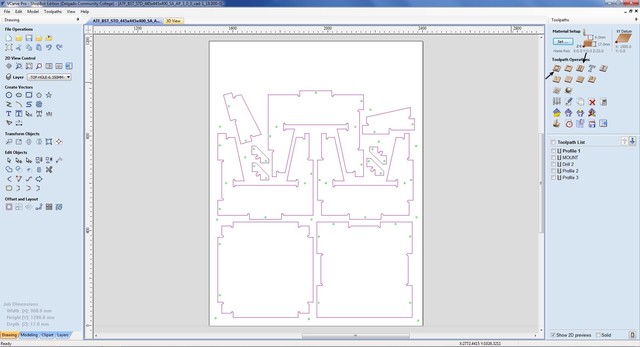
Important things to consider while setting up the parts is adding the tabs and saving each operation in separate files. Tabs will help keep the parts fixed after cutting it. Tabs width is 3mm and can be easily removed from the part by polishing and having each operation in a single file helps continuing the work if anything goes wrong with the machine instead of repeating the whole process again.
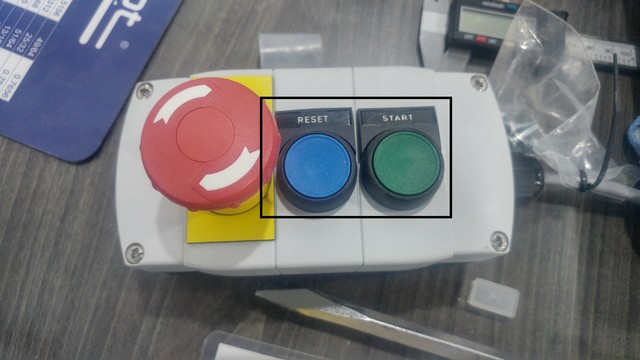
The next step was uploading the operations one after the other to the machine using the shopbot software. The software is easy to use and tells the user when to press reset and start buttons.
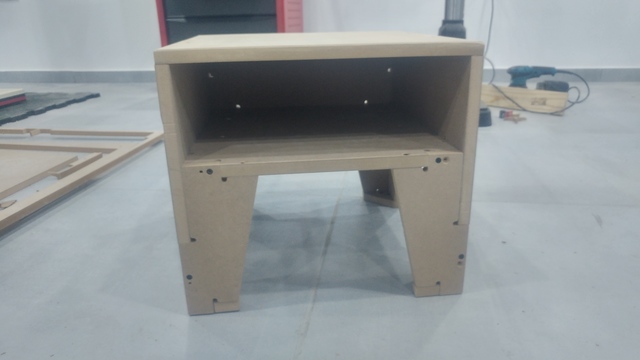
The table after assembling all the parts.