Vinyl cutter
Vinyl cutter session started off by Mr. Fransisco asking us to install the inkscape software (2D CAD) to be used in order to make a nice stickers through the vinyl cutter machine. Also, he asked us to download Fab software, so we can use the vinyl cutter as a printer.
Once we removed the vinyl cutter machine from it’s package Mr. Fransisco asked me to remove all the cartoon pieces and polystyrenes that have been placed inside the machine to protect her parts during the shipment process.
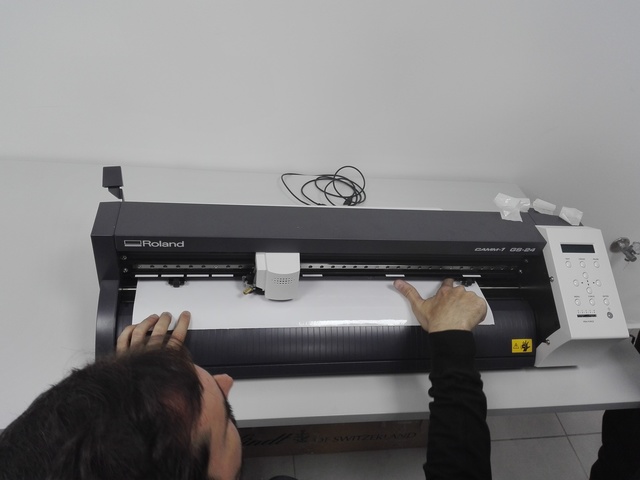
Then Mr. Fransisco guided us to install the machine and providing us with a very critical notes regarding the installation of machine parts which can be summarized as follow:
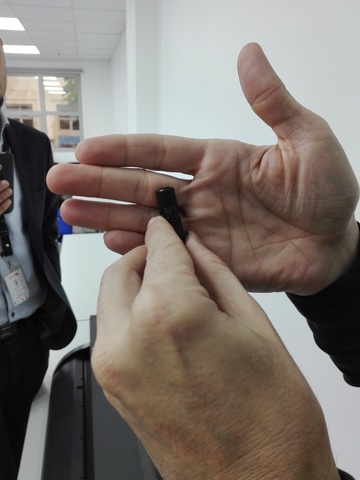
when installing the cutting part, be aware that it has a very very little hight out of the black plastic cylinder that it has been placed on.
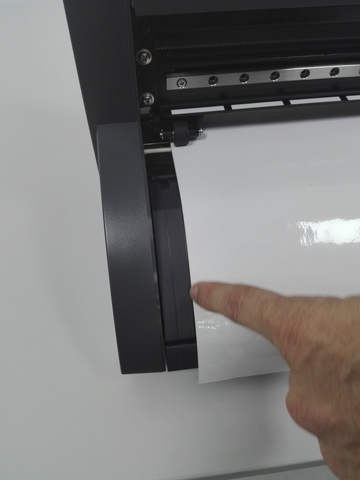
Put the the rollers that will pull the vinyl roll under white lines placed on the machine. And make sure to put all your finger once you want to move the rollers.
Align the vinyl roll with the machine borders.
- Set the origin point in lower left side of the vinyl so you can you make the maximum number of stickers per unit area.
- Reset the origin point when you want to make a new sticker.
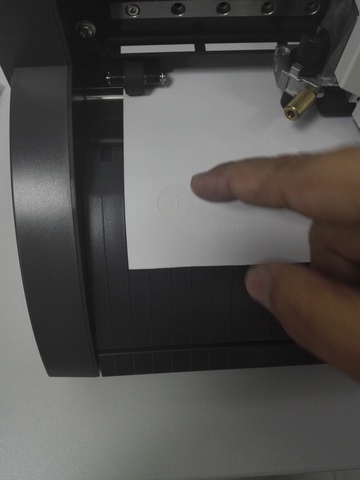
Test the after you have following the upper instructions. It will make a sticker of a cross inside a circle inside a square.
In order to make a sticker we have to draw it in 2D CAD software which is inkscape; this software is used to make a vector, so we can have a sticker with a very good quality. And the steps that we have followed in order to make a sticker can be summarized as follows:
First of all, download inkscape software by running the following commands in the terminal:
sudo add-apt-repository ppa:inkscape.dev/stablesudo apt updatesudo apt install inkscape- Open or draw your logo in the inkscape software by writing inkscape in the command line on the terminal, then make it vector from trace Bitmap from path option. After pressing live preview and OK, slide the vector logo and remove the old logo. Make sure that you have already saved your logo picture with .png extension.
- Go to file then press at the document properties and then resize your logo within the borders and make sure that the units are in mm.
- Select the logo and then size the width, make sure that the lock is locked and the units in mm.
- Go to file and press export PNG image… and then make the pixels at 600 dpi (minimum). Also make sure that the units are in mm.
- Make sure that you saved your image with .png extension.
- Export your image.
- Connect the machine with your computer.
- Open fab software.
- From format choose image.png.
- From process choose roland vinyl cutter (.camm).
- Hit make_png_camm button.
- Load the logo form load.png.
- Choose segments from view type.
- From defaults choose vinyl.
- Press make.path.
- press make.camm.
- Hit send it! Button.
- An error message will appear on the command line.
- Go to google and access localhost/:631.
- Press Administration.
- Set printer options.
- Rename the printer from roland to vinyl.
- Make row default.
- Please note that the last 5 instructions are done once for each computer.
After doing this you can re-send it!
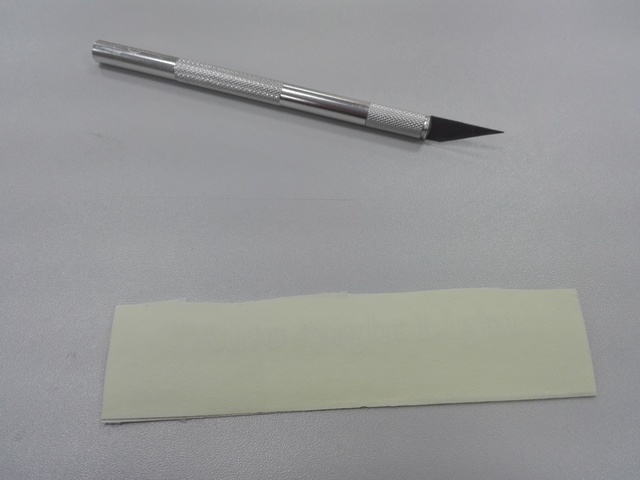
After the machine had finished making my sticker, I cut my sticker and started removing the extra parts from my logo by using tweezers.
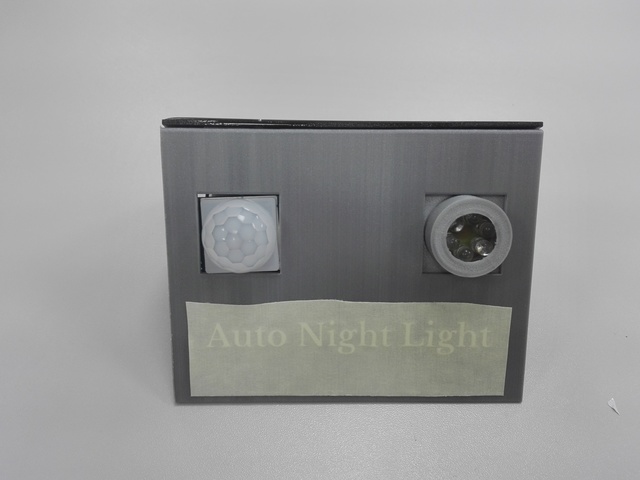
Then I put a tape on it, and now it is ready to be sticked.
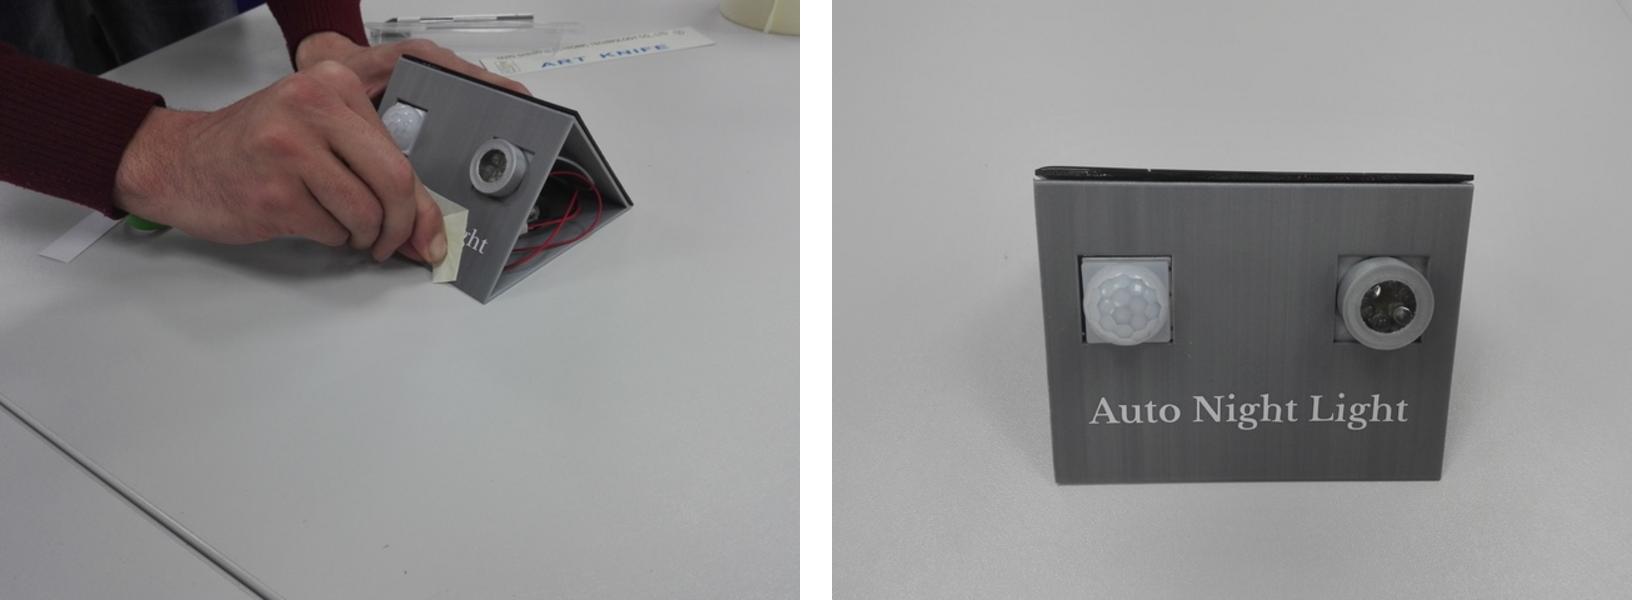
After that I removed the sticker and I put her on it's final place.
Finally, I removed the tape. Mr. Fransisco recommended us to be care when removing the tape out from the sticker.
